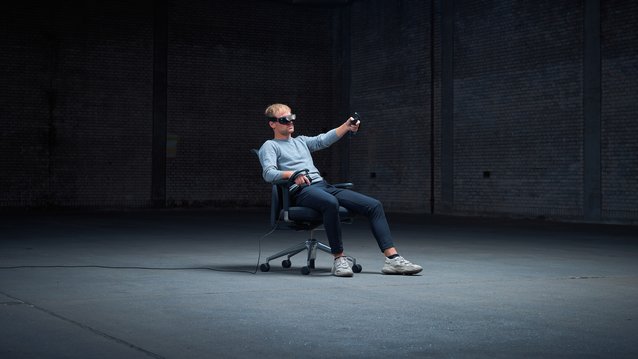
This is your Beyond
Setup Guide and Getting Started
This is your Beyond
Setup Guide

Pre-Installation Checklist
Before we dive into the exciting world of Beyond, let's first make sure you have what you need.
Required
Not Included

VR-Ready Windows PC
A Windows gaming PC is required to run VR games and applications. Minimum specifications include Windows 10 or 11, a quad-core CPU, and an Nvidia (RTX 2070 or newer) or AMD (RX 5700 or newer) graphics card.
Required
Not Included
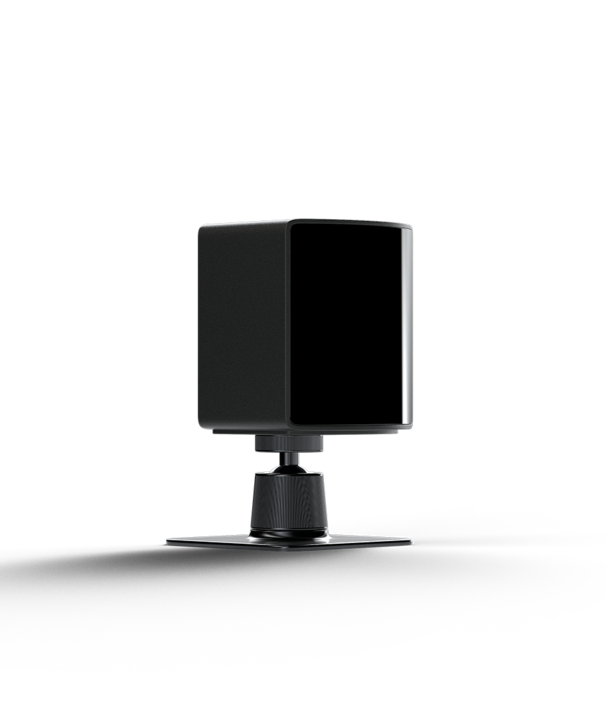
SteamVR Base Stations
Beyond requires SteamVR Base Stations for headset and controller tracking. These devices track the headset in 3D space and enable VR experiences. SteamVR Base Stations can be purchased from the Steam Store.
Optional
Not Included
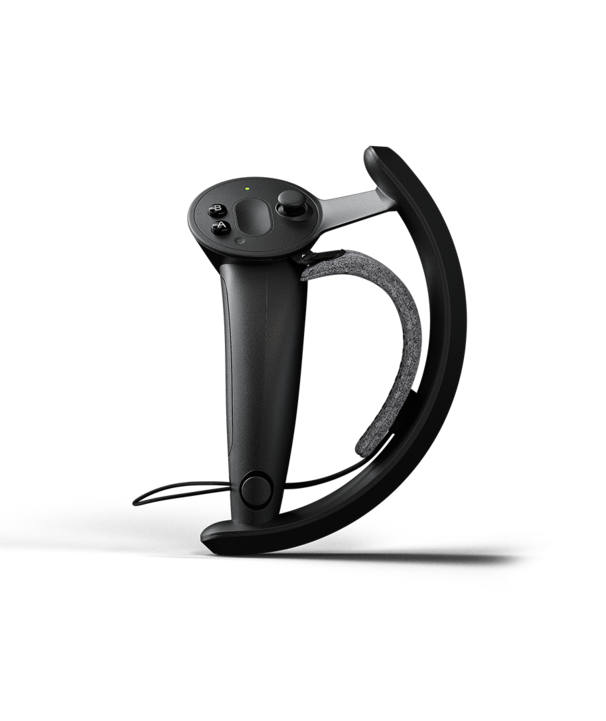
SteamVR Controllers
Beyond is compatible with all SteamVR controllers such as the Valve Index controllers. Controllers are not included with the Beyond, and are required for playing most VR games.
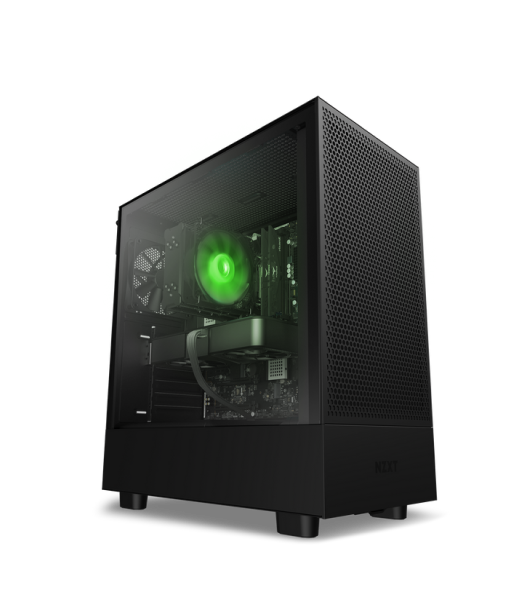
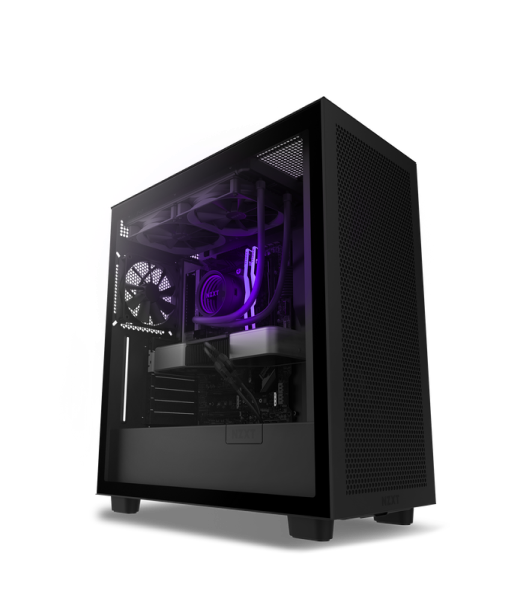
Don't have a VR-ready PC? Explore NZXT's Player PCs
We've partnered with NZXT to recommend gaming PCs that work great with the Beyond. Playing games like Beat Saber and watching movies in Bigscreen's VR movie theater work great on the Player: One. For the ultimate gaming experience in Microsoft Flight Simulator, No Man's Sky, or VRChat, you'll definitely want the NVIDIA® GeForce RTX™ 4090 in the Player: Three.
Unboxing & connecting the headset
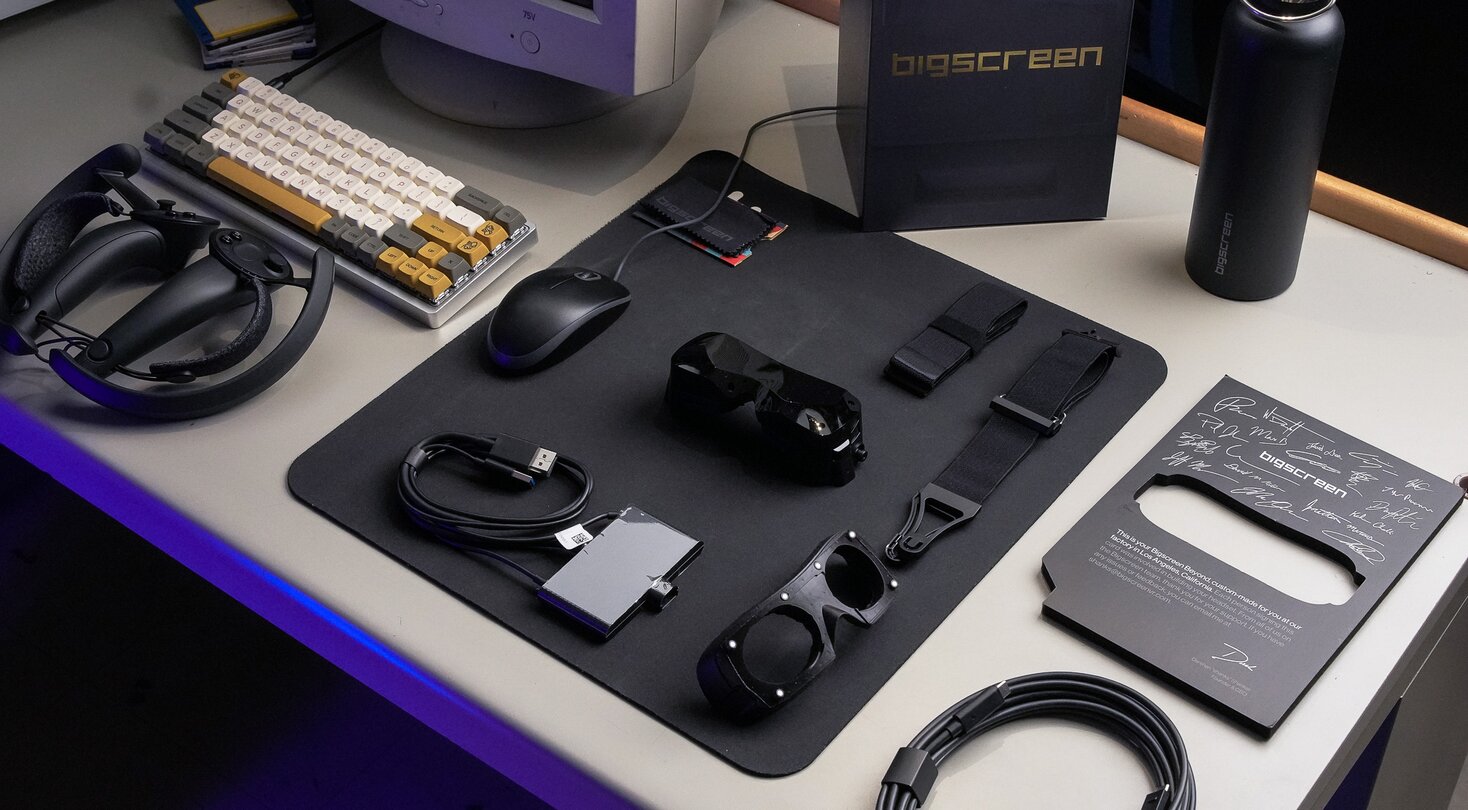
Inside the box, you'll find the following components: your Beyond, your custom-made face cushion, a 5-meter fiber optic USB-C Cable, and the Link box.
Connecting the cable
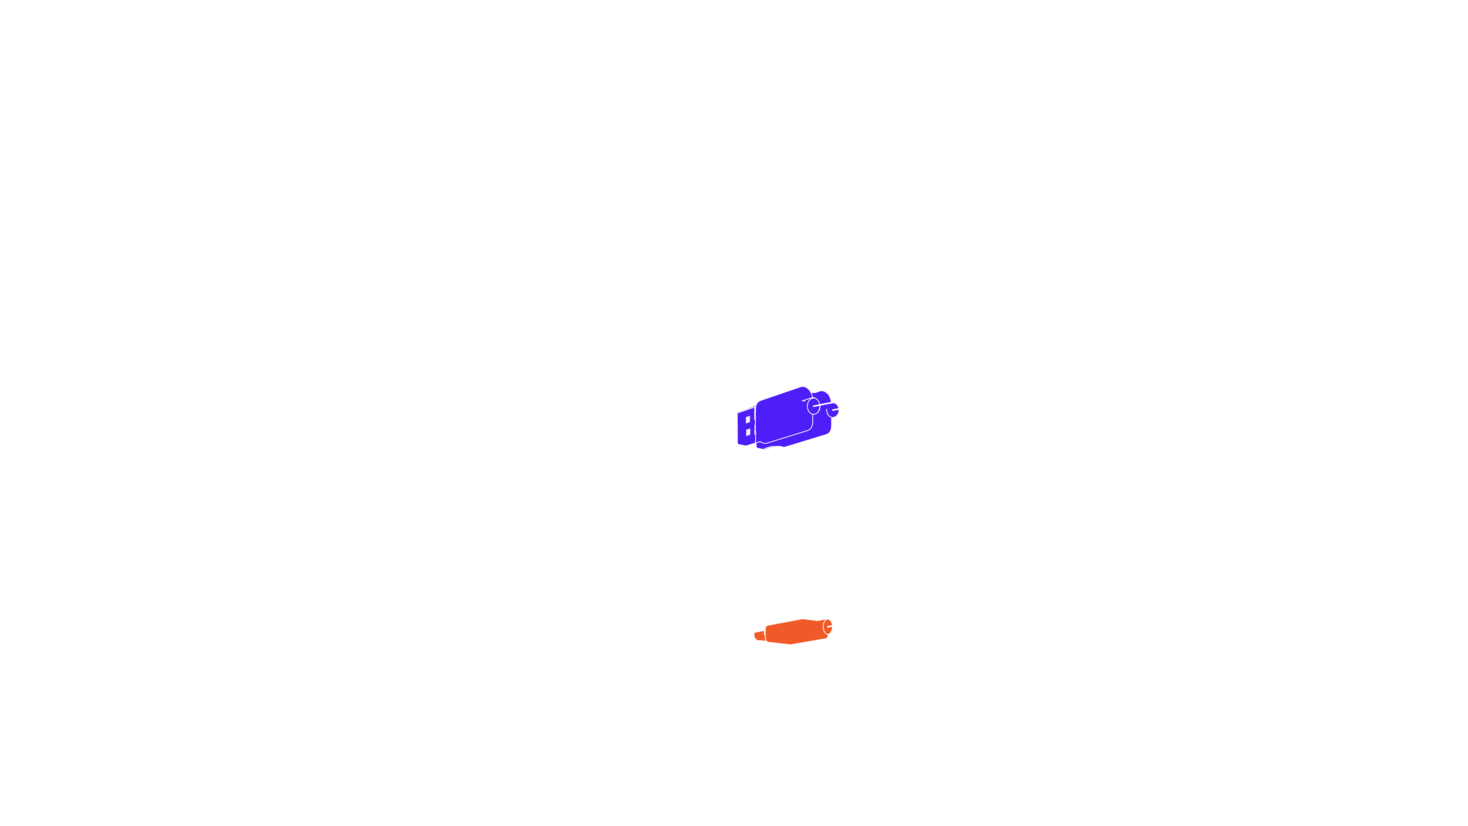
It's important to note the 5-meter Beyond cable is not reversible. One side of the cable must be plugged into the headset, while the other side must be connected to the Link Box.

The side of the cable with the ⦿ purple label and a dot plugs into the USB-C port on the left side of the headset. Beyond will not turn on if you incorrectly connect the cable to the right side USB-C port, which can be used for accessories such as the Audio Strap.
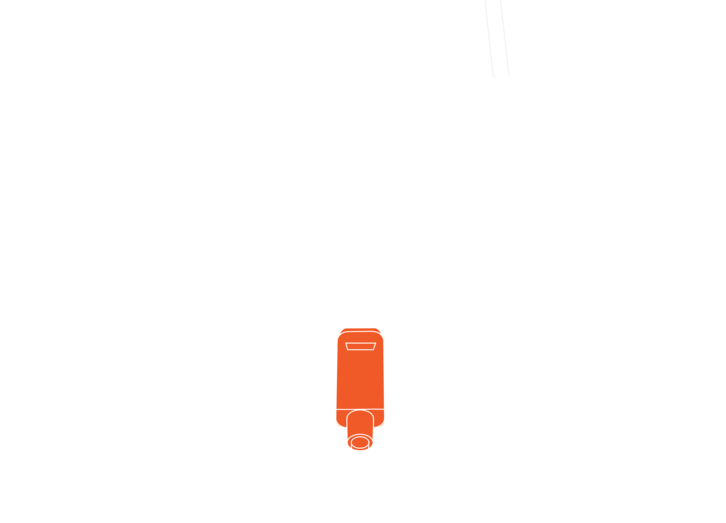
The side of the cable with an ⦿ orange label and a D-shaped plug connects to the Link Box, which has a matching D-shaped slot. Since the cable is not reversible, Beyond will not function correctly if you connect this side of the cable to the headset.
Connecting the Link Box to your PC
Connect the two USB 3.0 cables ⦿ on the Link Box to two USB 3.0 ports on your computer. The Link Box's DisplayPort 1.4 cable ⦿ must be connected directly to the Nvidia or AMD graphics card on your computer, and should not be plugged into your motherboard. If you're using a laptop, you will either need a Mini-DisplayPort to Displayport 1.4 adapter. or if your laptop has USB-C DisplayPort (also known as DP Alt Mode), you will need a USB-C to DisplayPort 1.4 adapter.
Adjusting the Soft Strap
Find the right tightness for a comfortable Beyond experience. For improved ergonomics, try attaching the included Top Strap to the Soft Strap.For ultimate comfort and built-in headphones, we recommend buying the Bigscreen Beyond Audio Strap.
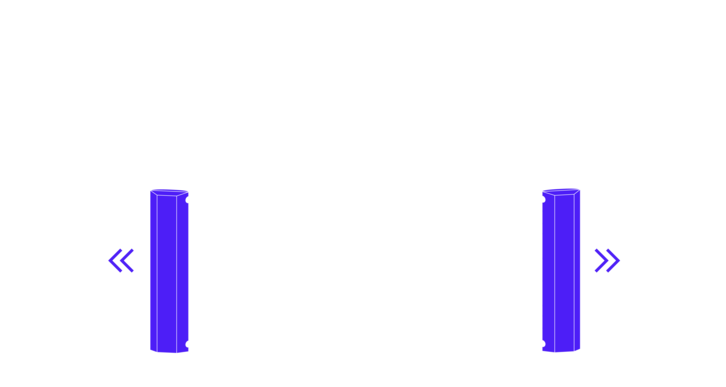
Tightening the Strap
Grab each of the strap clips ⦿ with your thumbs and index fingers. Simultaneously pull both strap clips outward to tighten the strap.
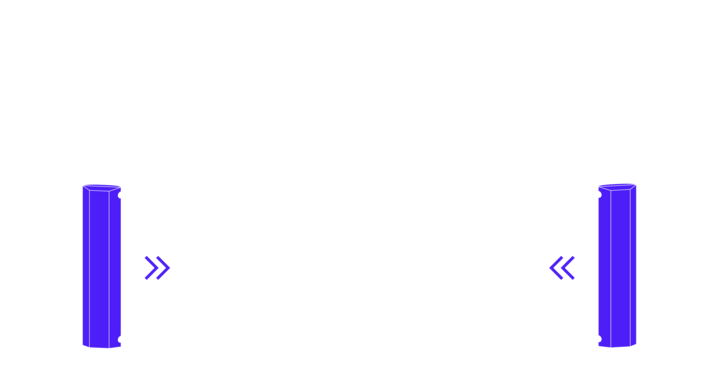
Loosening the Strap
To loosen, grab both strap clips ⦿ with your thumbs and index fingers and reverse the process: simultaneously pull both strap clips inward.
Clipping the cable to the Soft Strap
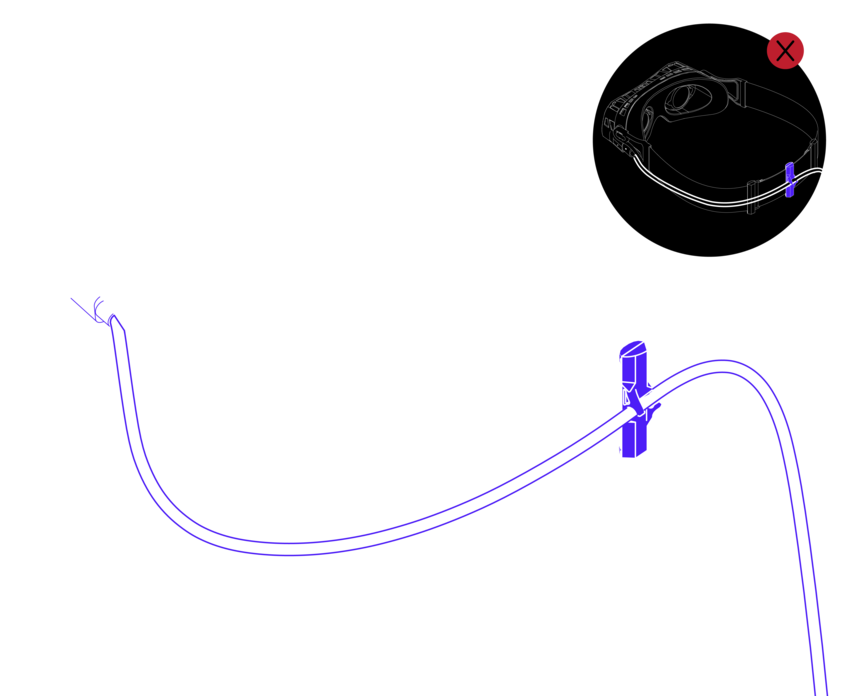
The Soft Strap has a Cable Clip. Slide the cable through it and the cable will be held rigidly. This lets you route the cable behind your back for improved ergonomics. It's important to leave enough length of cable near the left-side of the headset to allow unrestricted head movement.
Installing Your Top Strap
The top strap is an optional accessory designed to enhance comfort. While it's not mandatory for use, you may find it beneficial. Installing the top strap is a straightforward process involving three simple steps.
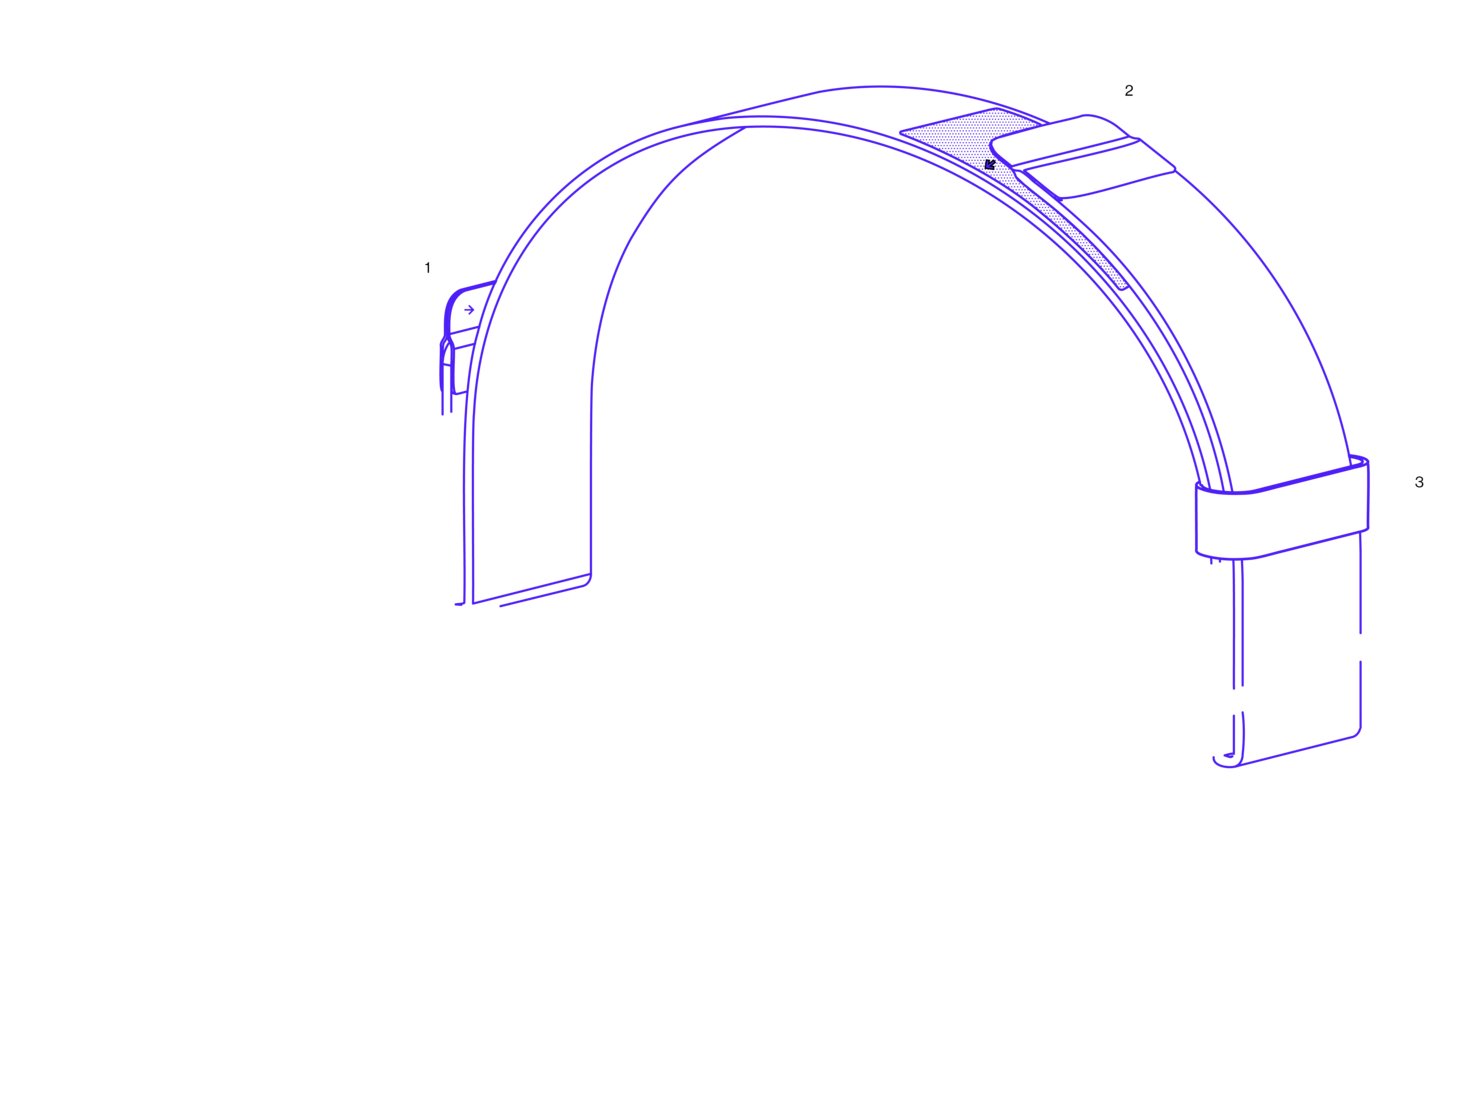
❶ Attaching the Velcro Ends
Start by identifying the two Velcro sides of the top strap. One side has a "short patch" of Velcro, and the other has a "long patch." Take the "short patch" end, loop it under one side of the soft strap, and wrap it around until the Velcro parts meet and attach securely. Do the same with the "long patch" end, attaching it to a convenient part of its longer Velcro patch.
❷ Adjusting for Comfortable Fit
Next, place the strap with the Beyond on your head. For a comfortable fit, unstick the "long patch" end and adjust its length as needed. Move your head gently to check the fit, making sure the strap holds well without any discomfort.
❸ Securing the Strap in Place with extra velcro
Audio Strap
shop now
Bigscreen Beyond Audio Strap
Take comfort and ergonomics to another level with the Bigscreen Beyond Audio Strap. It cups the top and back of the head, enabling Beyond to float on your face for improved comfort. The rigid strap and adjustable dial make it easy to find the perfect fit, and the built-in on-ear headphones provide high-end audio and powerful bass.
Go to Set-up Guide
Audio Strap Set-up Guide
Got the audio strap and are in need of guidance for its setup? For detailed instructions on how to properly install and configure your Audio Strap, simply click the link above.
Download Steam and install SteamVR
Beyond works with all the VR games and applications on Windows PCs. To get started, you'll need to install SteamVR from Steam.
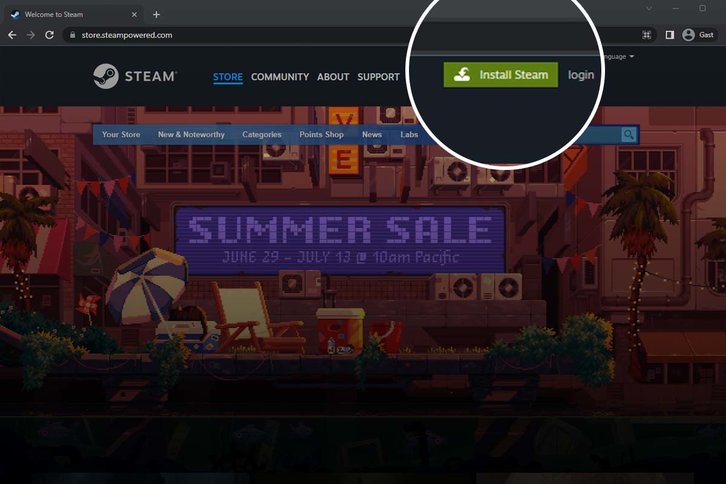
Downloading Steam
Visit steampowered.com and click on the green button labeled 'Install Steam' located in the top right corner of the website.
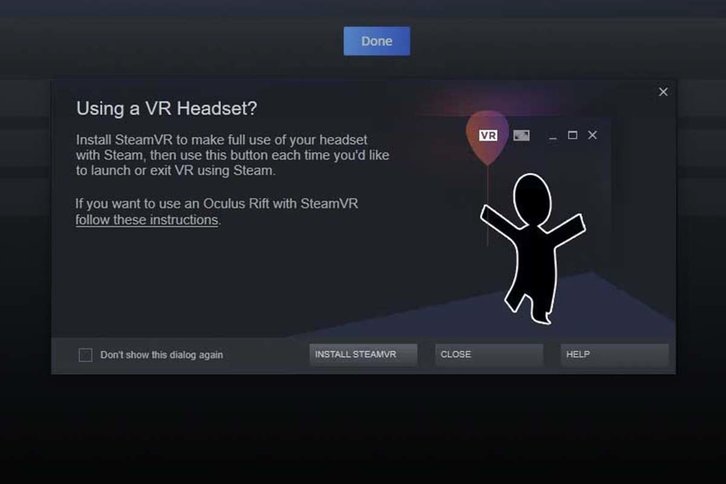
Installing SteamVR
Steam should automatically display a pop-up to install SteamVR when you connect your Beyond. If that doesn't happen, search for SteamVR on Steam and install it.
The Bigscreen Beyond Utility
Once you installed SteamVR, Steam will automatically download the Bigscreen Beyond driver. It will install a tiny Bigscreen Beyond app that enables you to enhance your headset experience. The app lets you adjust the refresh rate, brightness, fan speed, and LED color. It will minimize into your system tray when not in use.
Download Utility
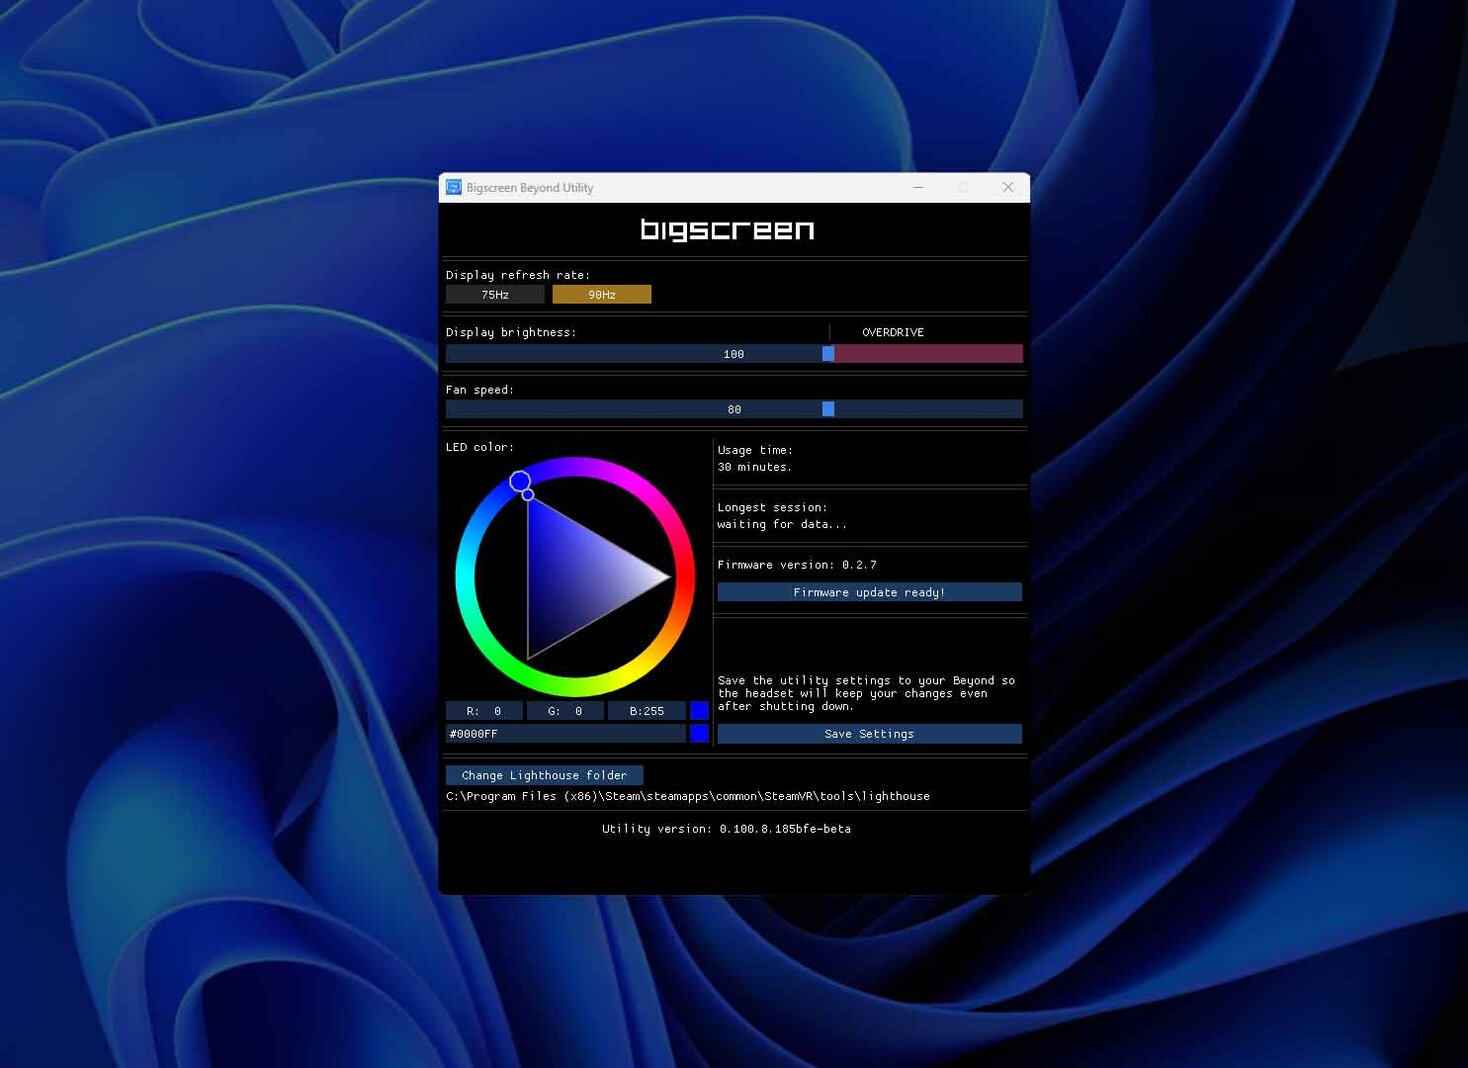
Important: Make sure your Beyond is using the latest firmware
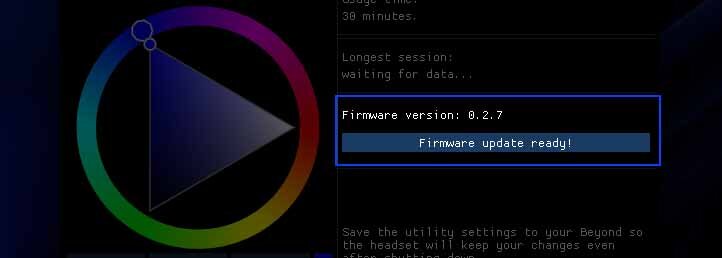
It's essential to keep your Beyond device updated with the latest firmware. Please check the firmware status using the Beyond Utility on your computer. If you see a "Firmware Update Ready" notification, initiate the update by clicking on it.
Critical Reminder: Do not power off or disconnect your Beyond headset during the update. Likewise, avoid touching or shutting down your computer. Any interference can disrupt the update process and impact your device's functionality.
Essential Maintenance for Your Beyond
Maintaining your Bigscreen Beyond VR headset is vital for preserving its longevity and ensuring the best user experience. Proper care will prevent damage to sensitive components and keep your VR experience clear and immersive. Here's a comprehensive guide on how to do so:
General Precautions

Never use Alcohol or Liquids
For the longevity of your Beyond, it's crucial to steer clear of cleaning with alcohol (IPA) and any other liquids. These substances can damage the electronics, exterior shell, and optics.

Keep Out of Direct Sunlight
Sunlight, although seemingly harmless, can destroy your Beyond's optics and displays. The optics act as a magnifying glass and sunlight can permanently damage the display and optics. Ensure you store your Beyond away from any sunlight.

Avoid Extreme Temperatures
For the longevity and optimal performance of your VR headset, always keep it away from very hot or cold environments. Store in a moderate temperature setting to protect its delicate components.
Cleaning and Maintaining the Optics of Your Beyond
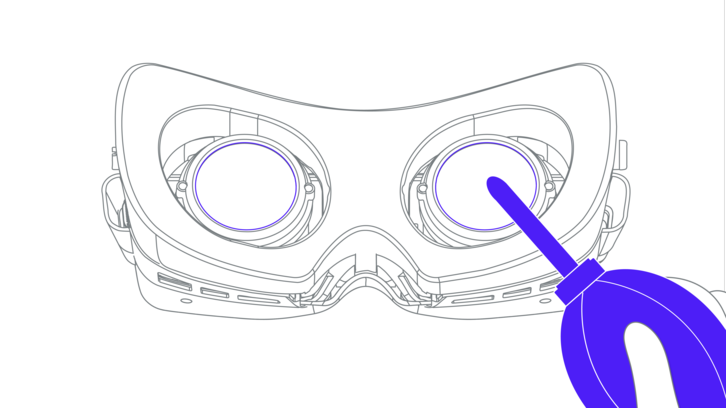

Using a Camera Lens Blower for Dust Removal
Before you proceed with cleaning the lenses, it's recommended to use a camera lens blower to gently remove any surface dust. This simple step ensures that the lenses remain scratch-free during the cleaning process.
Note: Please avoid using compressed air for this purpose. Only a dedicated camera lens blower is advised to ensure safe and effective dust removal.
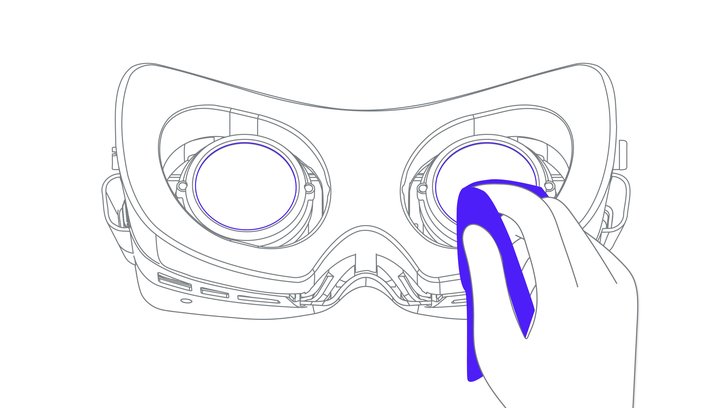

Cleaning the optics with a Dry Microfiber Cloth
For optimal clarity, gently clean the lenses in a circular motion using a soft, dry microfiber cloth designed for optics. Be cautious not to apply excessive pressure, and never use cleaning alcohol or other liquids, as these can damage the sensitive components.
Cleaning your Prescription Lens Inserts
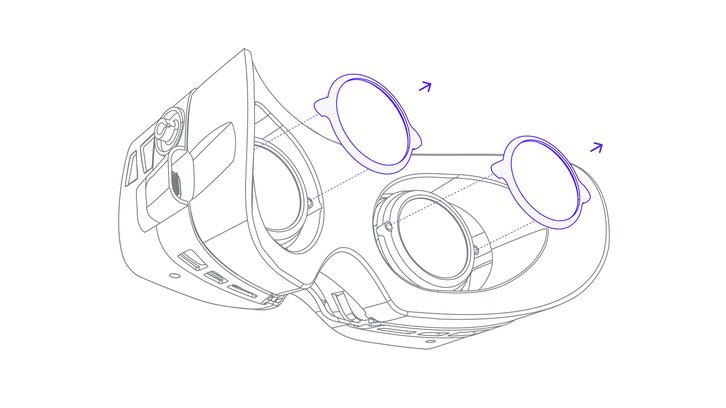
IMPORTANT: Remove Lens Inserts before cleaning
Always begin by removing the lens inserts from the Beyond. Cleaning them while still attached can pose a risk to the optics, potentially leading to damage.
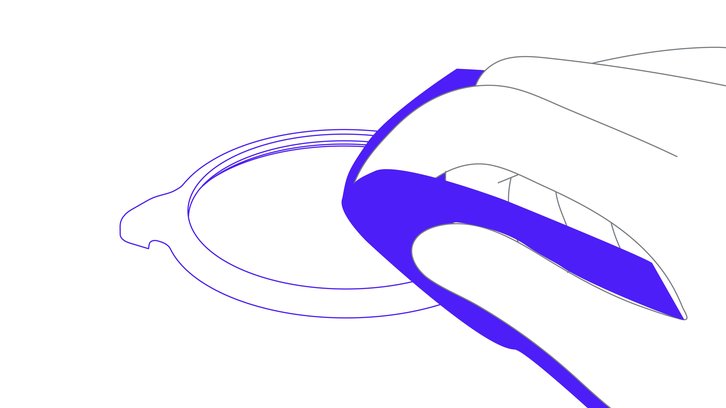

Cleaning the lenses with a Dry Microfiber Cloth
Achieve the clearest view by gently wiping the lenses in a circular pattern with a soft, dry microfiber cloth specifically made for optical use. It's crucial not to exert too much pressure. Remember, cleaning alcohol and other liquids are a no-go; they can harm the delicate parts of the inserts.
Cleaning your Personalized Beyond Face Cushion
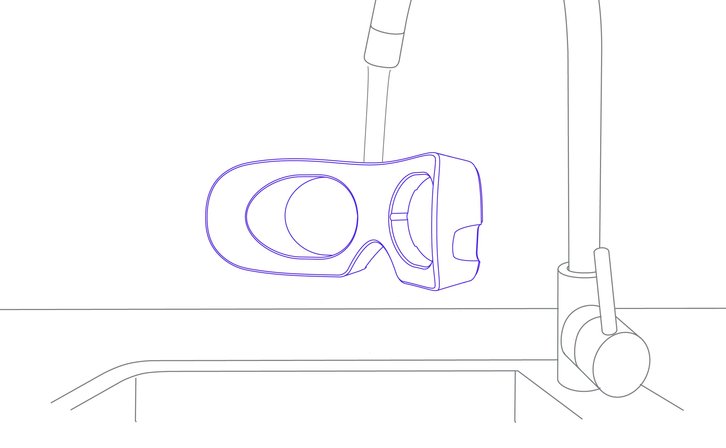
Detach Your Face Cushion and Hand Wash It
While most parts of your Beyond device require specific care, the face cushion offers a bit more flexibility. You can safely hand wash it using a mild hand soap. Gently agitate the cushion in soapy water, ensuring you don't wring or twist it harshly. Once cleaned, let it air dry naturally. Refrain from using rough towels or any other abrasive materials to dry it, as this can affect its comfort and durability. Always handle with care to ensure prolonged use and comfort.


Frequently Asked Questions
We've compiled answers to our most frequently asked questions to help you. If you can't find the information you're looking for, please don't hesitate to reach out to us.
The headset doesn't turn on.
The headset is on, but I only see white/grey and I don't see VR.
How do I switch the headset refresh rate (75Hz and 90Hz)?
I have an AMD GPU and when I connect my Beyond to my computer, it treats it as an extended desktop instead of a VR device / SteamVR does not recognize the Beyond as a VR headset
Safety guide
Before using Bigscreen Beyond, please review our comprehensive safety guide to ensure a safe and enjoyable experience.
Download Safety Guide
Safety guide
Sed ut perspiciatis unde omnis iste natus error sit voluptatem accusantium doloremque laudantium, totam rem aperiam, eaque ipsa quae ab illo inventore veritatis
Download Safety Guide
Warranty
Nemo enim ipsam voluptatem quia voluptas sit aspernatur aut odit aut fugit, sed quia consequuntur magni dolores eos qui ratione voluptatem
Go to Warranty page
 Discordに参加